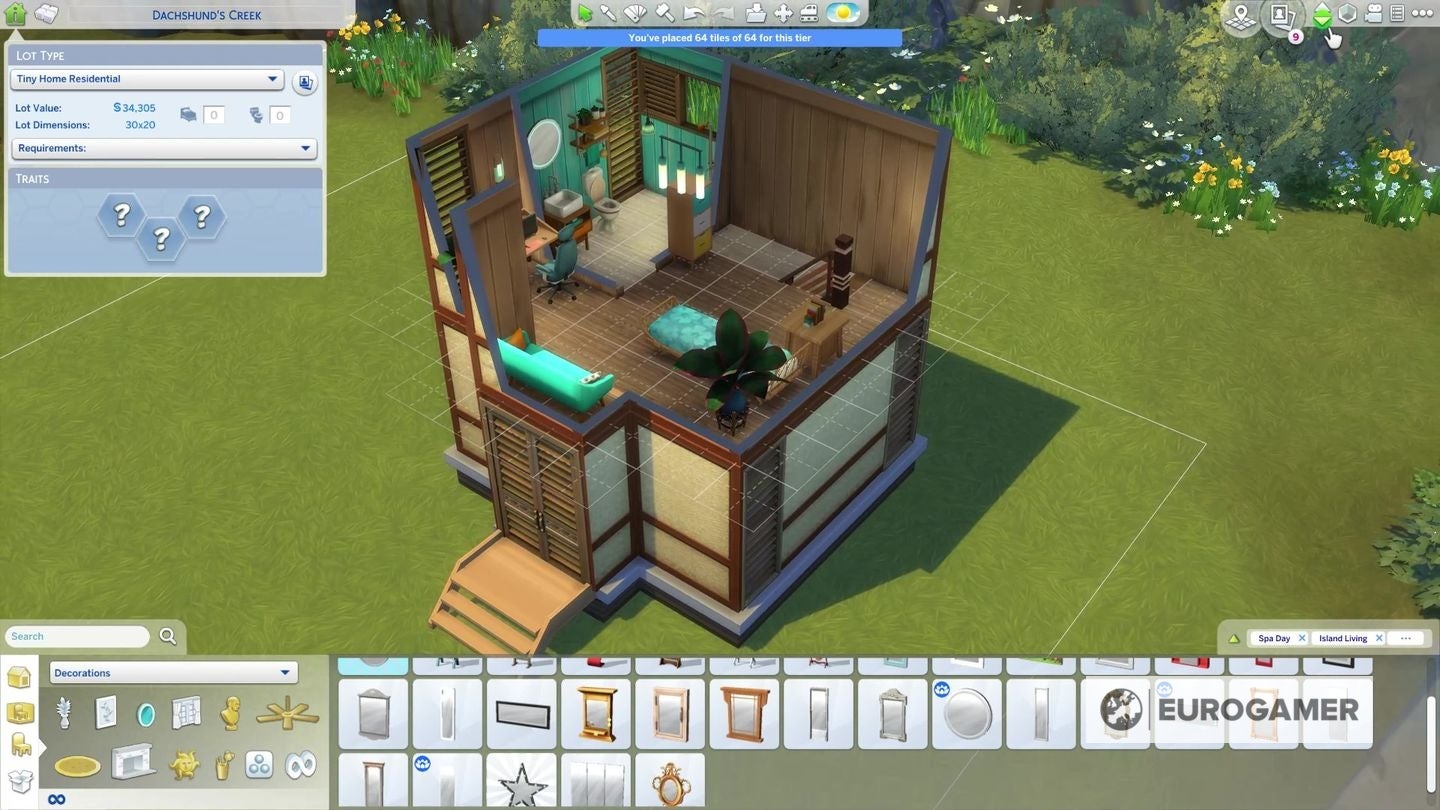
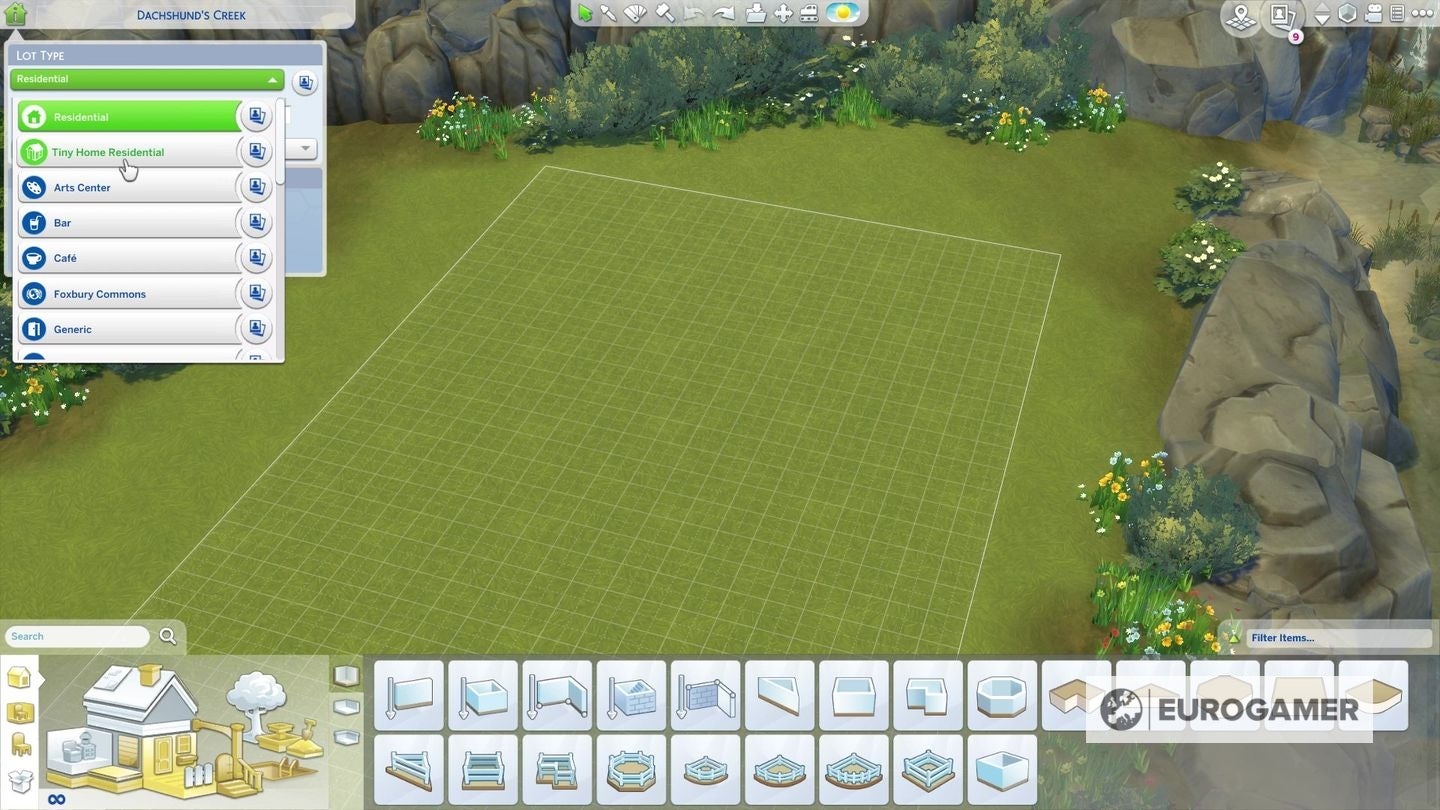
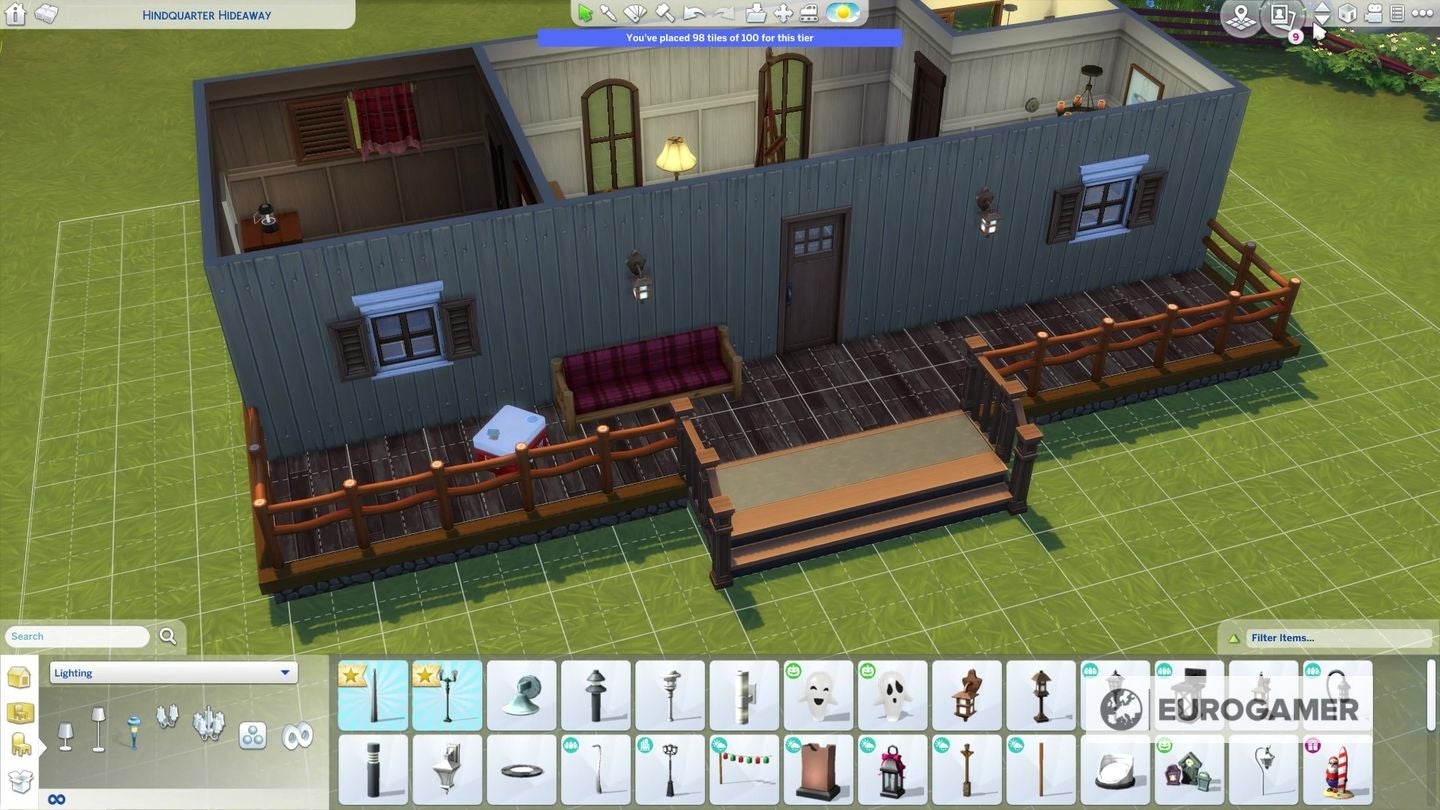
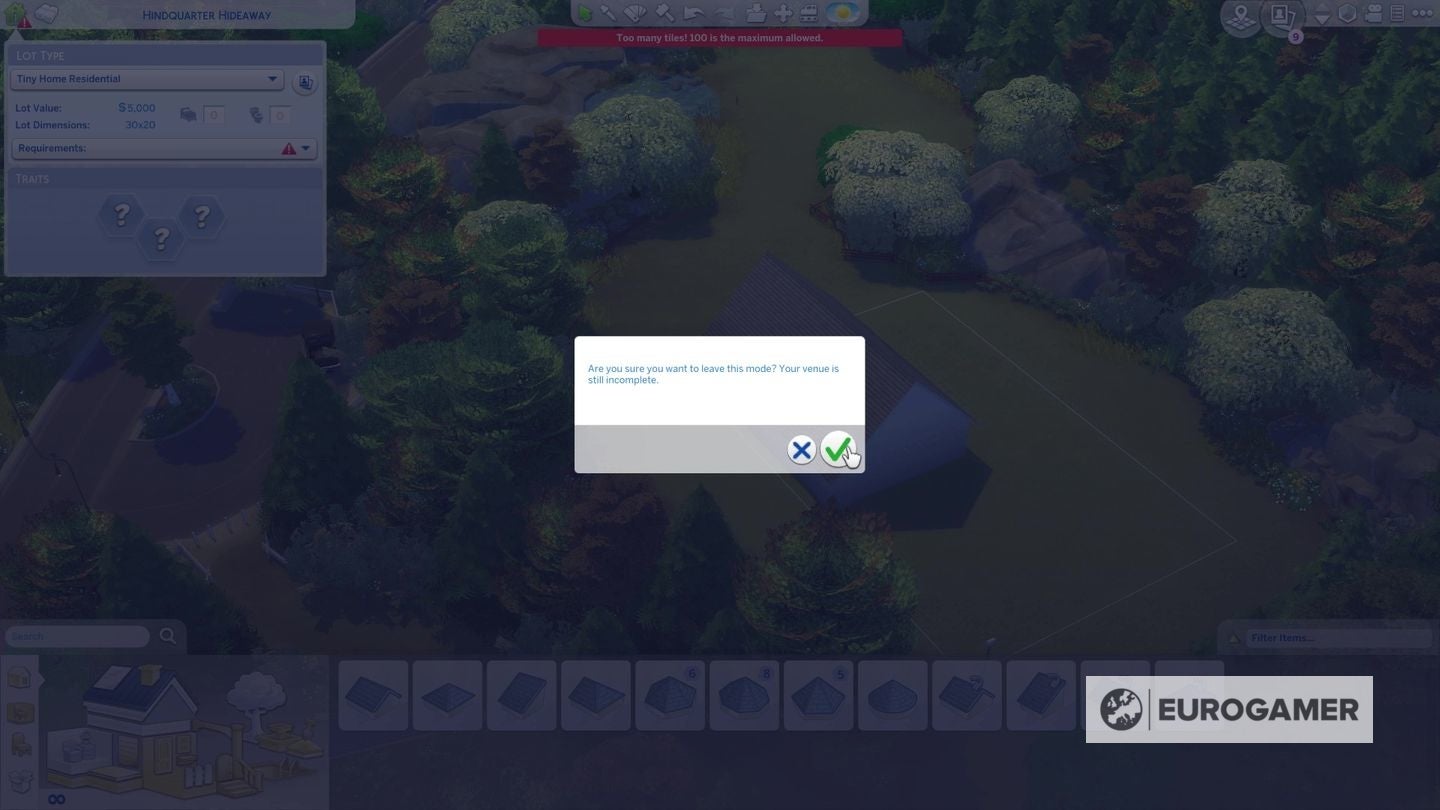
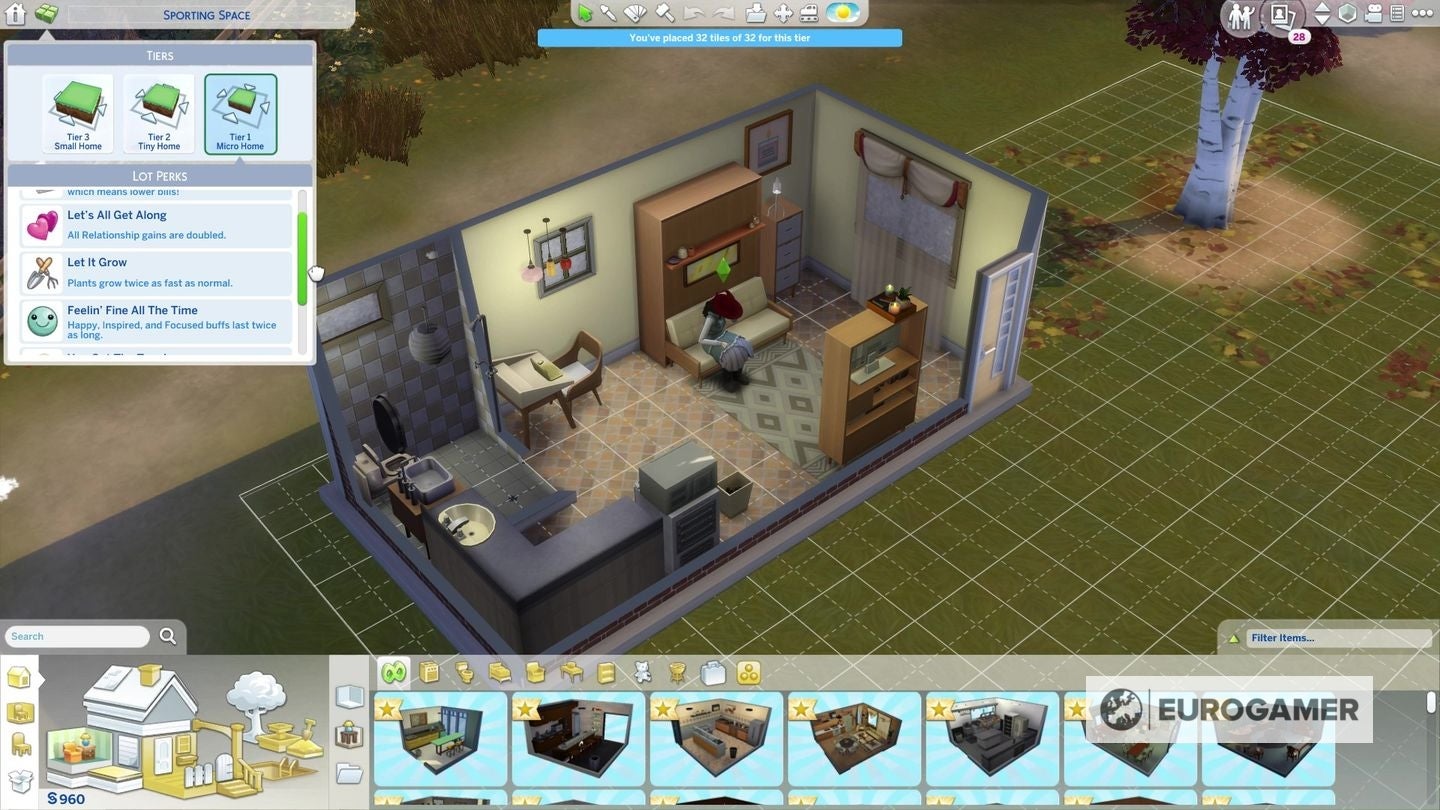
Tiny home builds have been popular among The Sims 4 players for years, with the results being shared on social media, fan sites, and most recently The Sims 4’s Gallery feature. Until Tiny Living, the rewards for completing one of these unofficial challenges were the admiration of fellow players and the satisfaction of mastering a tricky task. The new Stuff Pack takes things a step further, introducing a new lot type - Tiny Home Residential - that allows you to formally declare your intention to build a tiny home and track your level of success, as well as allowing your Sims to gain a variety of benefits for your creative problem solving and attention to detail. On this page: Looking for more The Sims 4 help? Read how to become a Mermaid, a Ghost and a Spellcaster, as well as our The Sims 4 cheats page to help fast track you to various aspects of the game. The alt button is your friend Tiny Home Residential lots are the new lot type introduced with the Tiny Living Stuff Pack, and carry with them one major additional requirement: they are restricted to a maximum 100 tiles of living space. That’s 100 total, including all tiles across multiple floors if the house has more than one storey. There are no pre-made lots assigned as Tiny Home Residential in The Sims 4, but you can convert any existing lot into one. Enter the lot you wish to convert in Build Mode, click the ‘Lot Info Panel’ in the upper left hand corner of the screen (the icon looks like a house with a lower-case letter ‘i’ inside of it), and select ‘Tiny Home Residential’ from the drop-down menu. While Tiny Home Residential lots are restricted in terms of indoor space, you can have as much outdoor space on the lot as you like. There’s no need to stick to the smaller lots available if you don’t want to; you can just as easily turn the biggest lot in the game into a Tiny Home Residential. Maybe you have a vision of a tiny hut engulfed by a wild garden; or of creating a small cottage surrounded by its own private woodland. Whatever your ideas, you can be as free as you like with your selection of where to start your Tiny Home Residential project. The 100 tile limit includes all indoor spaces on the lot, as well as porches, patios, balconies, fenced-in gardens, and any other raised and/or enclosed outdoor area; but it does not include garden or yard spaces that aren’t fully surrounded by fencing. There’s also a small amount of grace allowed for staircases: for example, a set of stairs leading up to the porch won’t count towards your tile limit; however the porch tiles they attach to will. The game doesn’t actually go so far as to enforce the 100 tile restriction in any way when building on a Tiny Home Residential lot. It will warn you when you go over the limit, and when exiting Build Mode you’ll be reminded that it considers the building to be incomplete. It will also mark the lot as Tiny Home Residential Incomplete when viewed from the world map. But, you can still move in Sims to live there, and while they won’t gain any of the benefits of living in a Tiny Home, they won’t be hit with any penalties either. Technically, there’s also a minimum limit of four enclosed tiles before the game recognises your build as a Tiny Home. While this is enough space for a fully functional bathroom, you’re probably going to want to use a few more tiles if you actually intend for your Sims to be able to live in the house. There are some additional benefits to making a house with a 64 or 32 tile limit (see the Tiny Home Residential Tiers section below) but beyond that there’s nothing to be gained from restricting yourself further, so consider treating your Sims to a studio living area to go with that bathroom, at least. Once you start thinking in miniature, after a while 100 tiles starts to feel like loads of space. A couple who are happy in each other’s company can live perfectly comfortably together in a home of 100 tiles. They’ll even have space left over after buying the essential furnishings to pursue a hobby or two without things feeling overcrowded. That’s why Tiny Home Residential lots have Tiers: three levels of additional challenge within that 100 tile restriction:
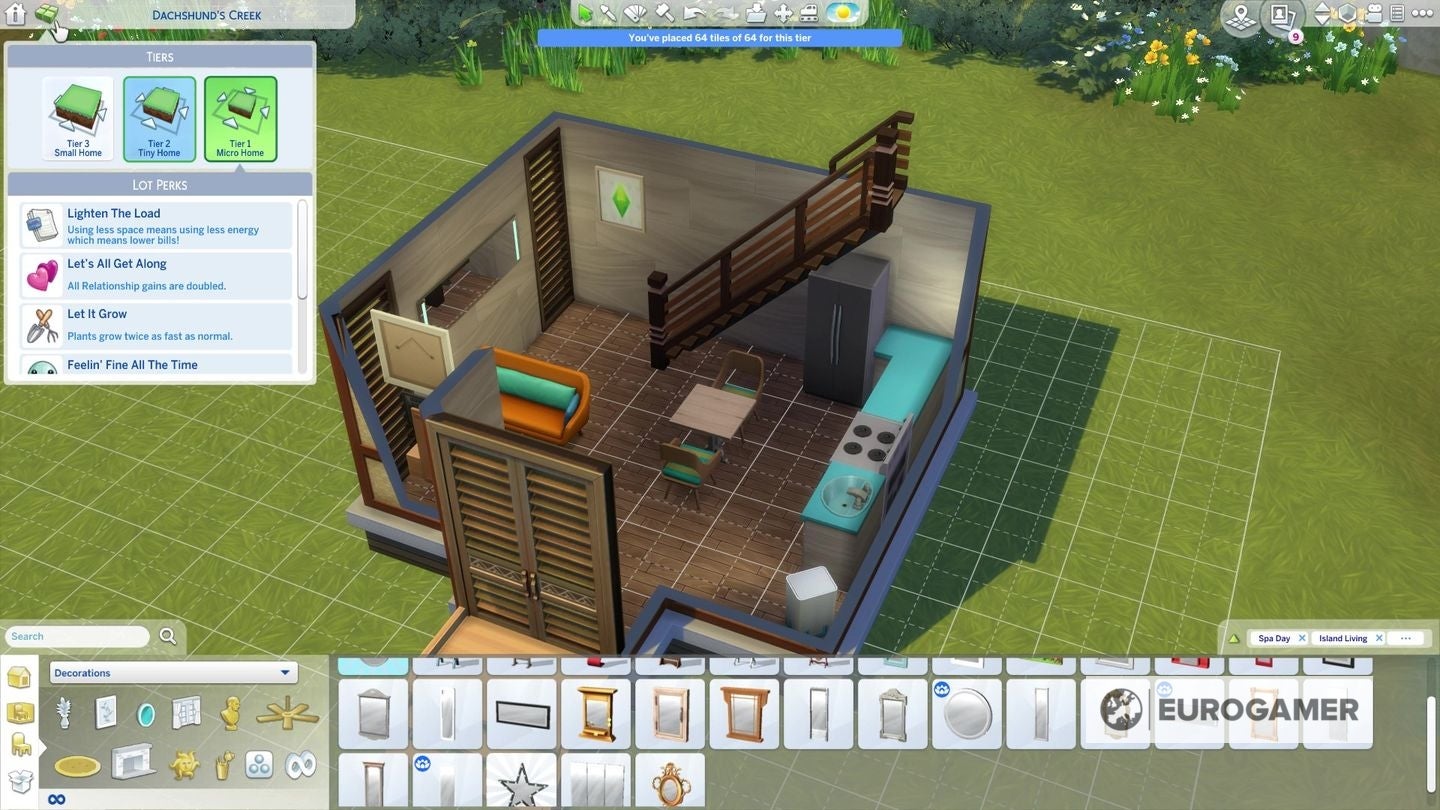
Tier 3: Small Home (65-100 tiles) Tier 2: Tiny Home (33-64 tiles) Tier 1: Micro Home (4-32 tiles)
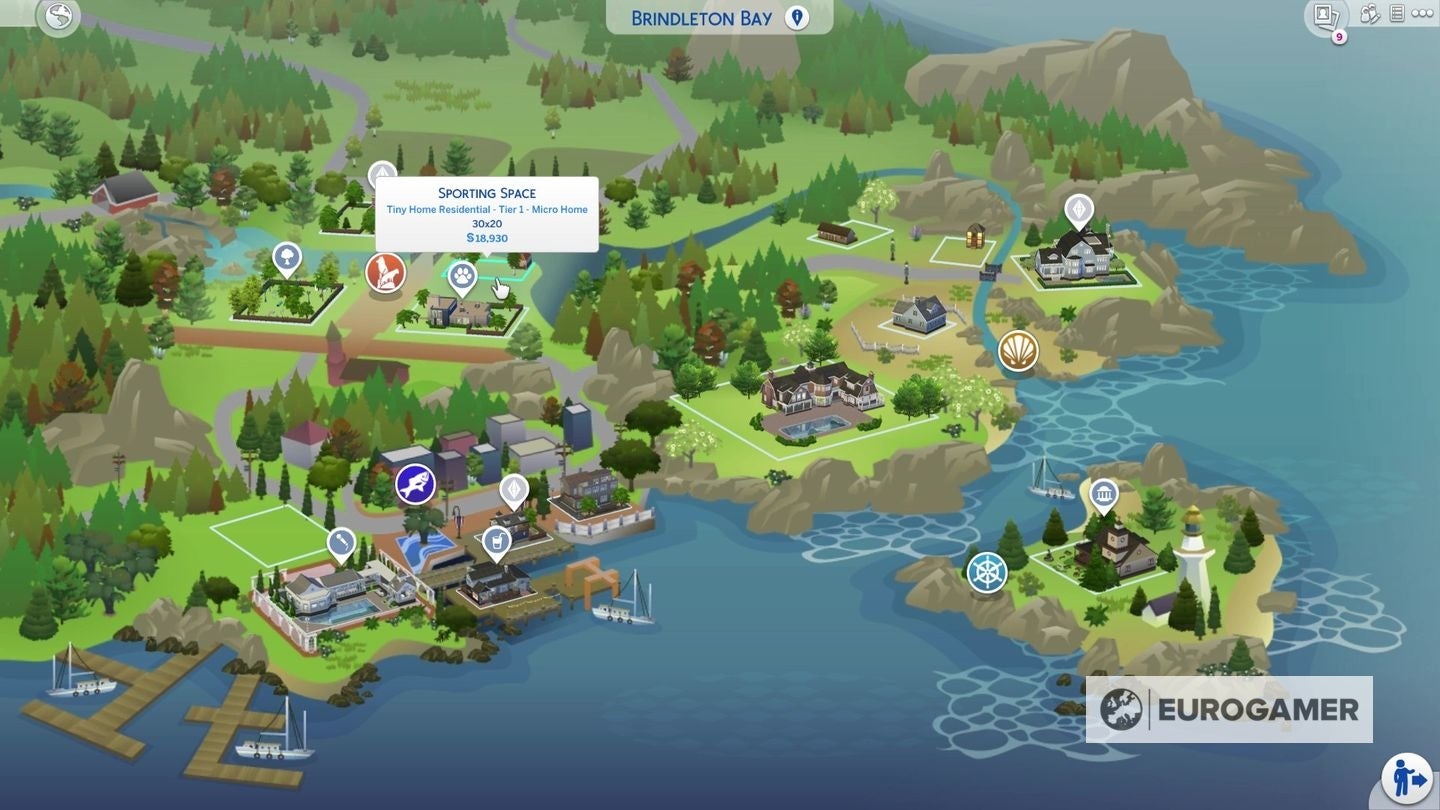
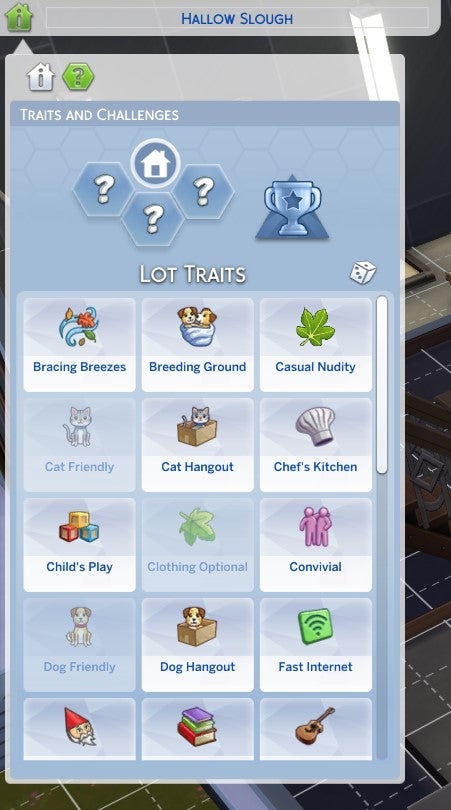
Unlike when you first assigned the lot to become a Tiny Home Residential, you don’t need to (and indeed can’t) apply any of the Tiers yourself. Instead, the game will apply them automatically based on the number of enclosed tiles it recognises on the lot. You can view your lot’s current Tier by clicking on the concisely named ‘Tiny Residential Venue Lot Rewards (by Tier)’ tab, which appears next to the ‘Lot Info Panel’ in the upper left hand corner of Build Mode when you assign the lot type. Additionally, when viewing the lot from the world map, its Tier will be included along with the other lot details when you hover over it. Note: Speaking from personal experience: the absence of the second tab in the upper left hand corner is a good indicator that you’ve forgotten to reassign your lot as a Tiny Home Residential. You’ll need to change it over in order to receive any benefits for your show of dedication to the Tiny Living ethos, so make sure you do it! (Don’t worry if you forget at first, though: even after you finish building the house and have your Sims move in, you can freely switch lot assignments between Residential and Tiny Living Residential.) Creating these progressively smaller living spaces unlocks a series of Lot Perks. The smaller you go, the more Perks you receive, and the more benefits your Sims experience from living in their tiny home. Similar to the Personality Traits belonging to the Sims themselves, Lot Traits add depth to gameplay by buffing emotions, affecting skill or relationship gains, or causing random events to occur on the lot they’re applied to. You’re able to add them to any lot, though the traits will differ depending on what game pack, expansion you have installed Lot Perks are in many ways very similar, at least in terms of the benefits they grant. Exclusive (at least for the moment) to the Tiny Living Residential lot type, Lot Perks can’t be directly applied by the player, but are awarded when you reach a new Tier (see Tiers, above). Lot Perks accumulate when you reach a new Tier, meaning that (for example) a Tier 2 house will have access to all the Perks from Tier 2 and Tier 3, but will need a further reduction in living space in order to unlock the Tier 1 Perks. Tiny Living Tier 3 Lot Perks - Small Home:
Lighten the Load: Household bills are reduced. Feelin’ Fine All The Time: All moodlets granting the ‘Happy’, ‘Inspired’, and ‘Focused’ emotions double in duration while on the lot.
Tiny Living Tier 2 Lot Perks - Tiny Home:
You Got The Touch: All skill building on the lot receives a double-time boost. Cozy Comforts: All objects on the lot that grant Comfortable moodlets double their buff amounts.
Tiny Living Tier 1 Lot Perks - Micro Home:
Let’s All Get Along: All relationship gains (and losses) are doubled while on the lot. Let It Grow: Garden plants on the lot grow twice as fast.
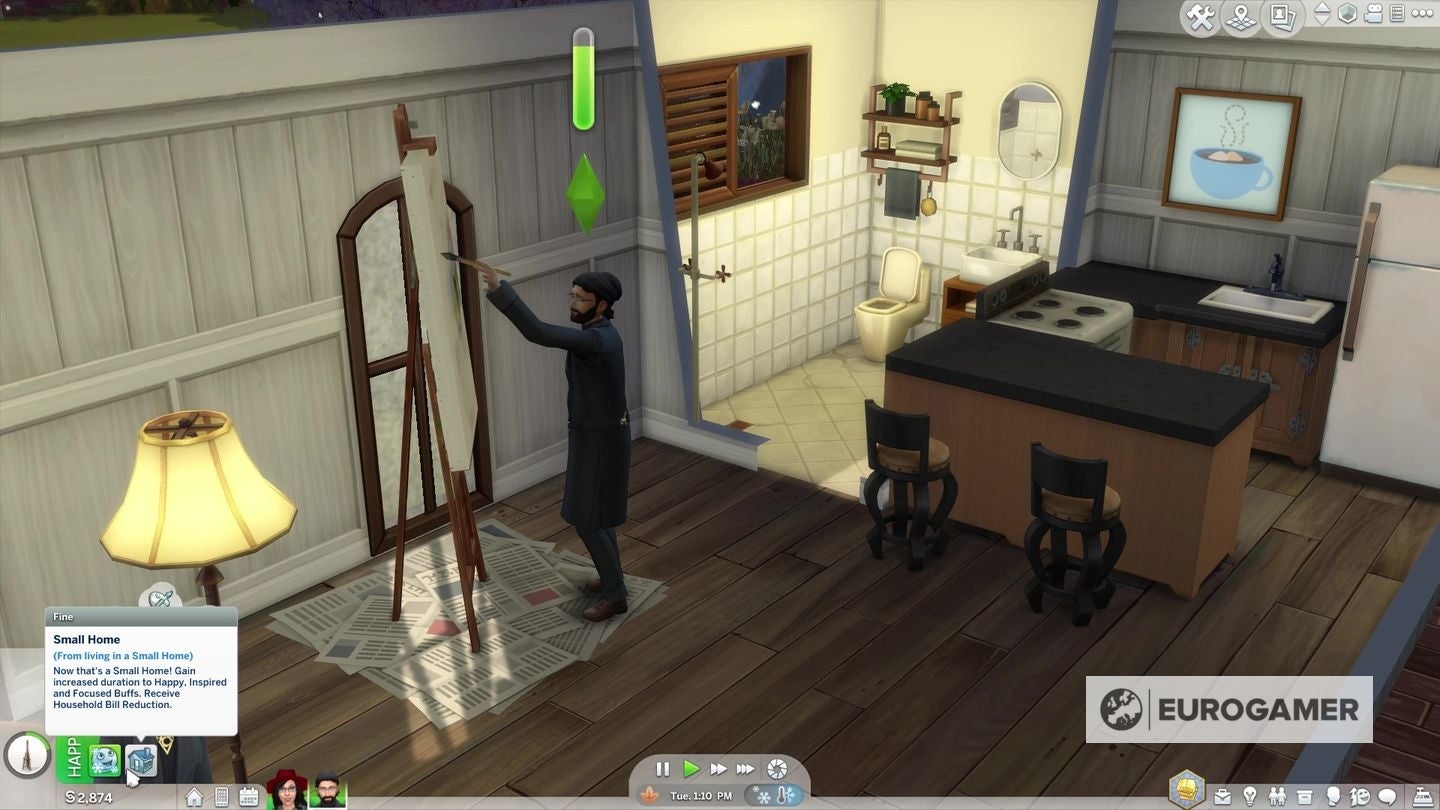
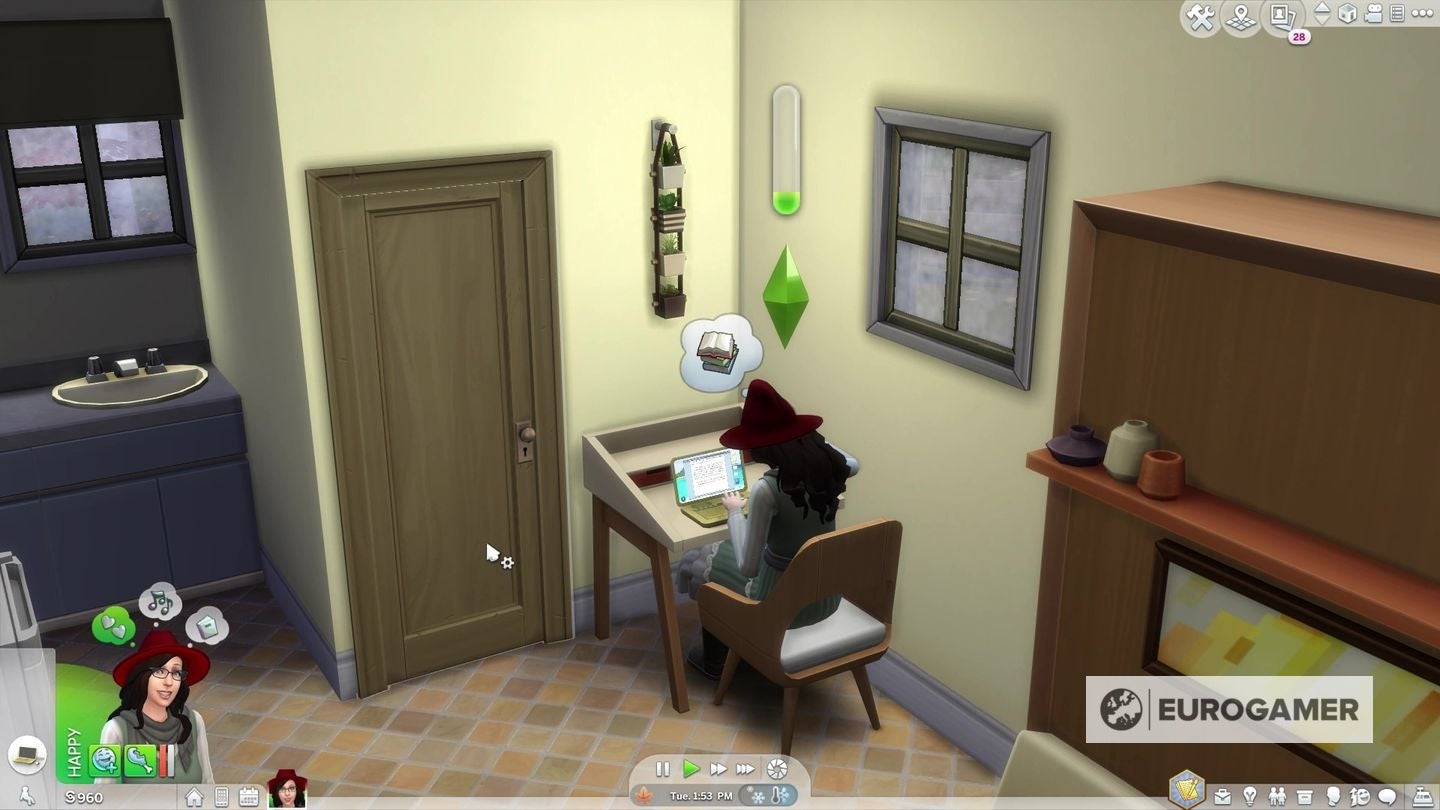
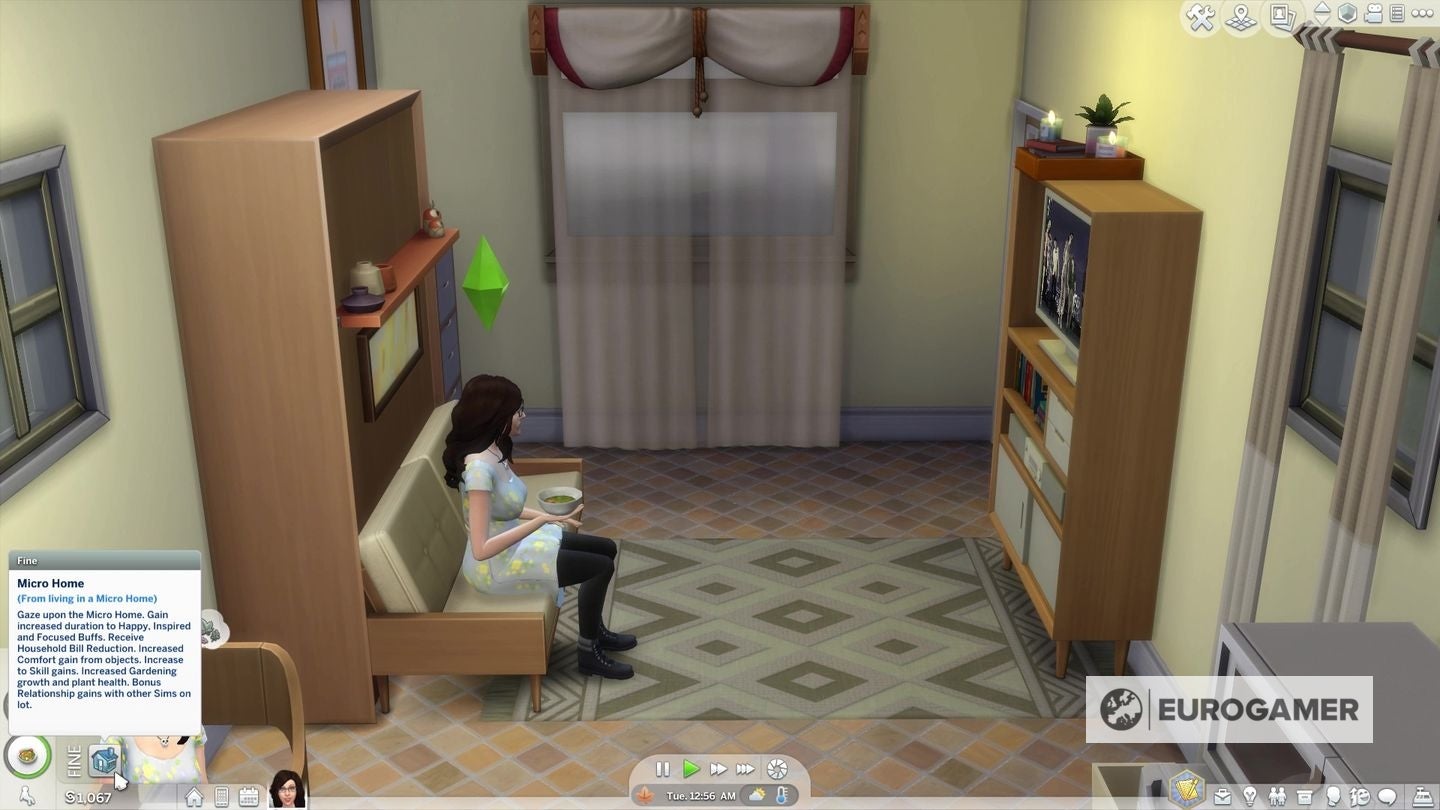
Note: The ‘Feelin’ Fine All The Time’, ‘You Got The Touch’, and ‘Let’s All Get Along’ Perks will apply equally to all Sims while on the lot, whether they are residents or visitors. So if your Sim is looking to improve their Writing skill, for example, you could consider having them take their laptop over to a friend’s Tiny Home to take advantage of the skill gain boost. When in Live Mode, your Sims will receive a moodlet with the same name as their home’s Tier. Unlike other moodlets in The Sims 4 this one will be linked to the ‘Fine’ emotional state, and will not provide any buffs. It’s just there to remind you what Lot Perks are currently affecting your Sim, since there’s no other way to view them while in Live Mode. There are, however, a few pointers that can help you start to design your own Tiny Living space. Make the most of new items from the Tiny Living Stuff Pack The Tiny Living Stuff Pack includes two new object types that can be purchased in Build Mode:
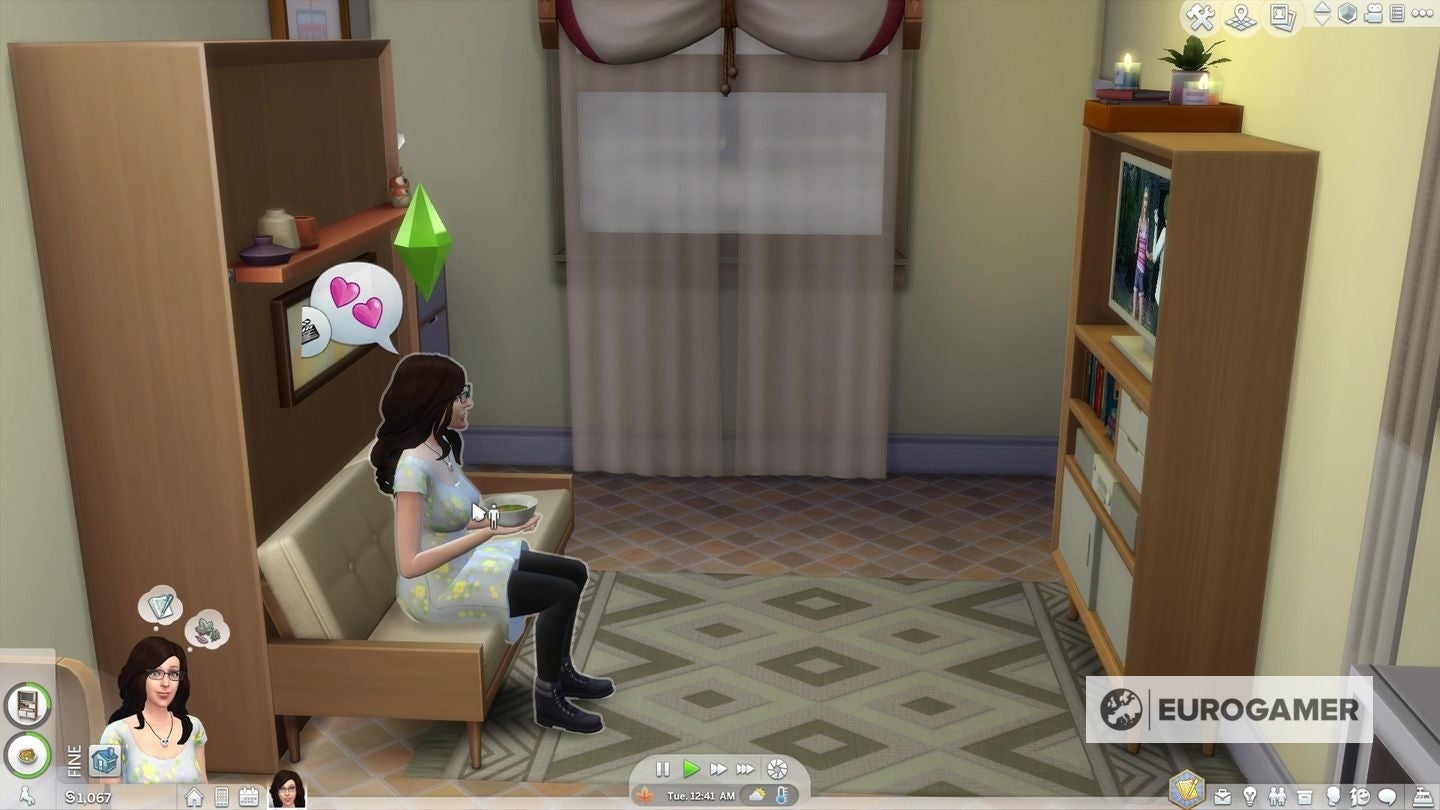
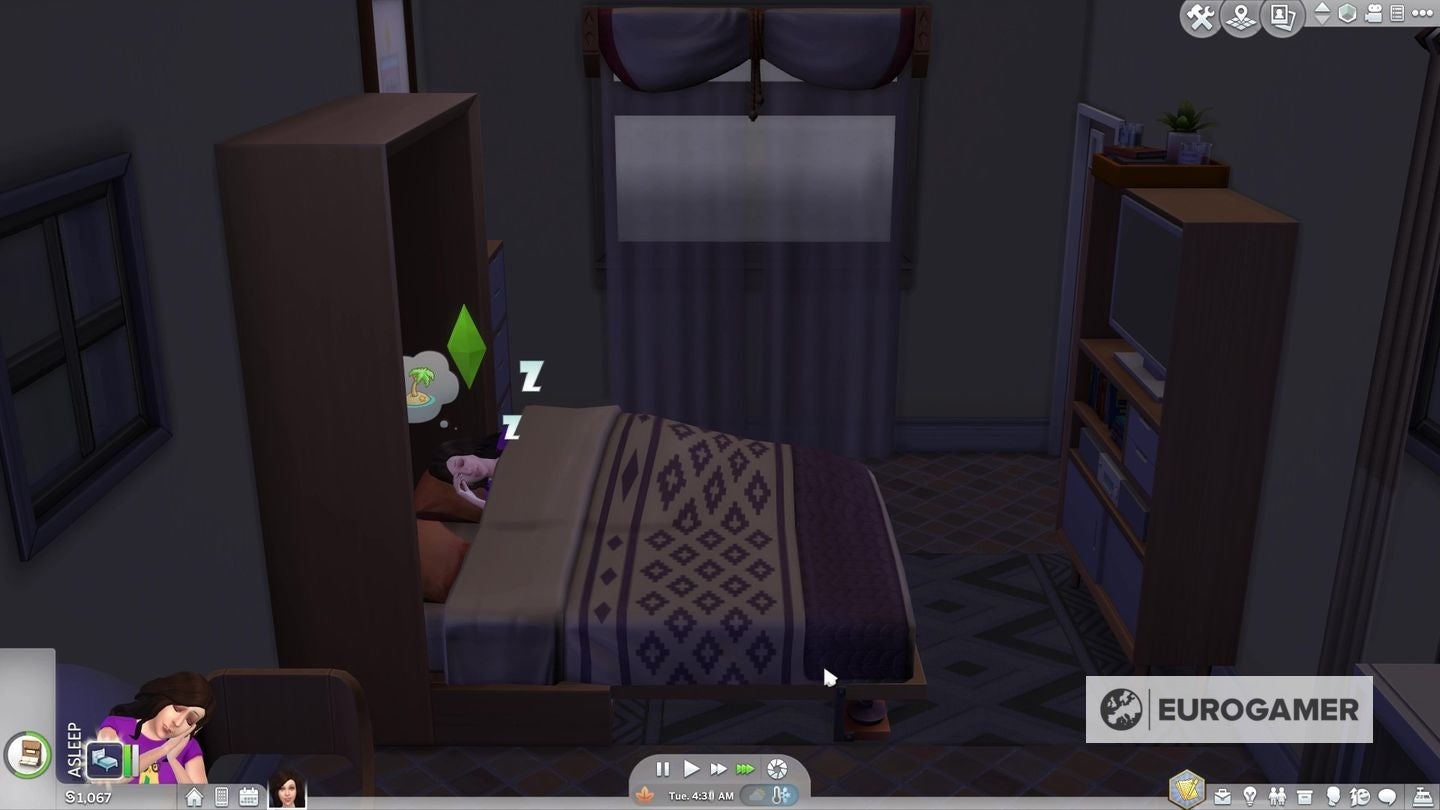
Media Marathoner: All-in-one TV/stereo/bookshelf objects that take up only two tiles of floor space. There are both free-standing and wall-mounted variants available; the latter allows room for some other objects to be placed underneath the unit as well, and both models include shelf space to hold small decorative or lighting items too. Murphy Beds: Foldaway beds that can be stored away to create extra living space during the day. Other objects can’t be placed in the footprint of the Murphy Bed while it is stored; however, there are four models available, three of which include built-in sofas and/or bookshelves to create an adaptable living/sleeping space.
Note: Murphy Beds are great space-savers, but they’re also trying to kill your Sims in a couple of interesting ways. Thanks to its electronic components, a Murphy Bed can electrocute a Sim who is attempting to upgrade or repair it; while there’s also a chance of a Sim being crushed beneath it while putting the bed down. Proceed with caution, and maybe save your game before bedtime if you don’t fancy dealing with a visit from the Grim Reaper. Use the new features added in Patch 91 The update patch released on 16th January, 2020 for The Sims 4 included a couple of optimisations for existing objects. These can be used by any players, including those who don’t own the Tiny Living Stuff Pack, but are very useful for furnishing restricted homes.
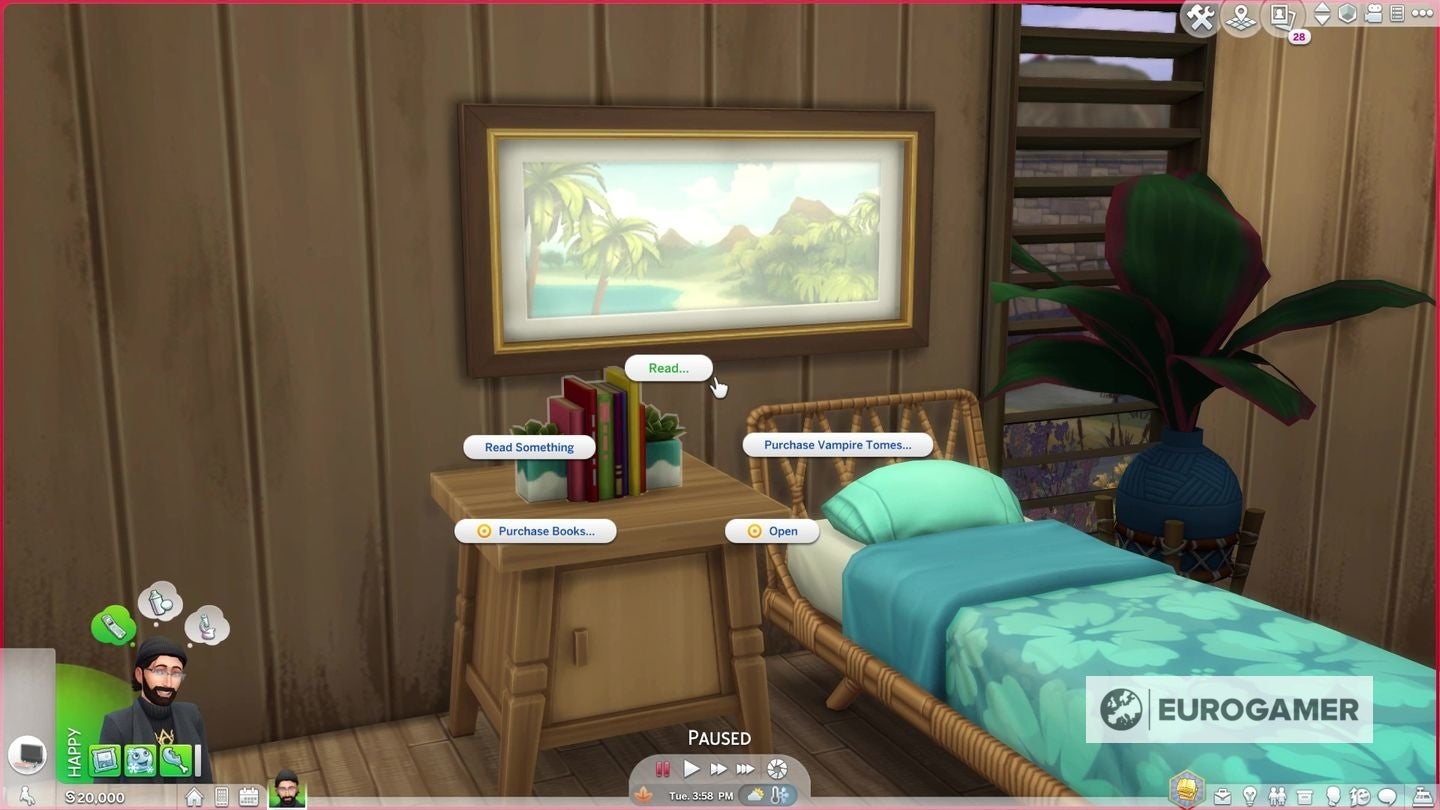
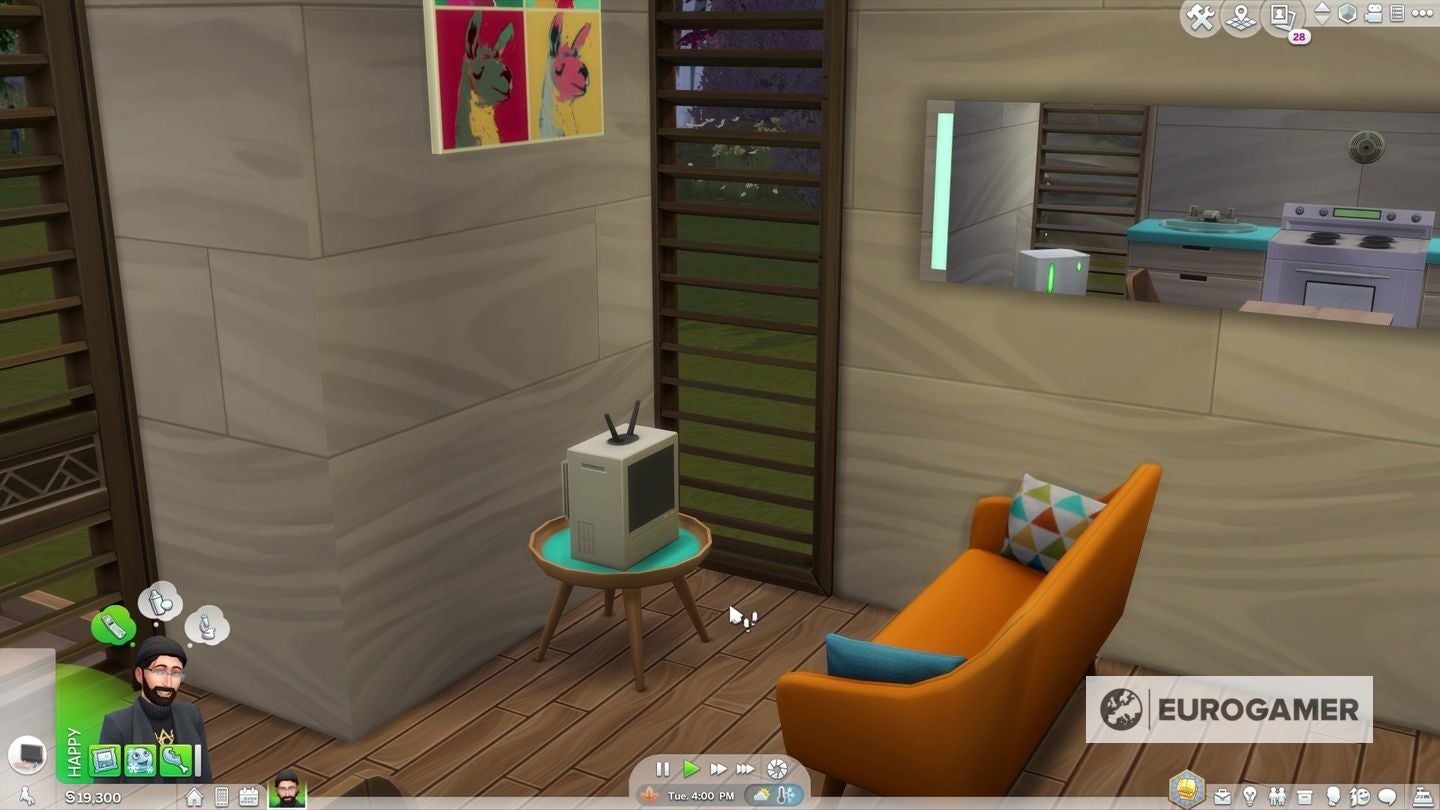
Bookends: Previously decorative objects, all bookends from the base game and add-on packs now function as fully interactive bookshelves. Accent Tables: Additional slots have been added to all accent tables in the game, allowing televisions to be placed on them.
Use items from the Discover University expansion pack While they are largely stand-alone, stuff packs and expansion packs for The Sims games often complement each other. This is definitely the case for The Sims 4: Tiny Living Stuff and the Discover University expansion pack released in November 2019. The possibility for a vast reduction in household bills thanks to Tiny Living Stuff is obviously a boon to university students; and if authenticity is your thing, the pack gives you the opportunity to create realistically minuscule student accommodation. Meanwhile, Discover University added a couple of household items that make downsizing your living space that little bit easier, regardless of where you are in your education.
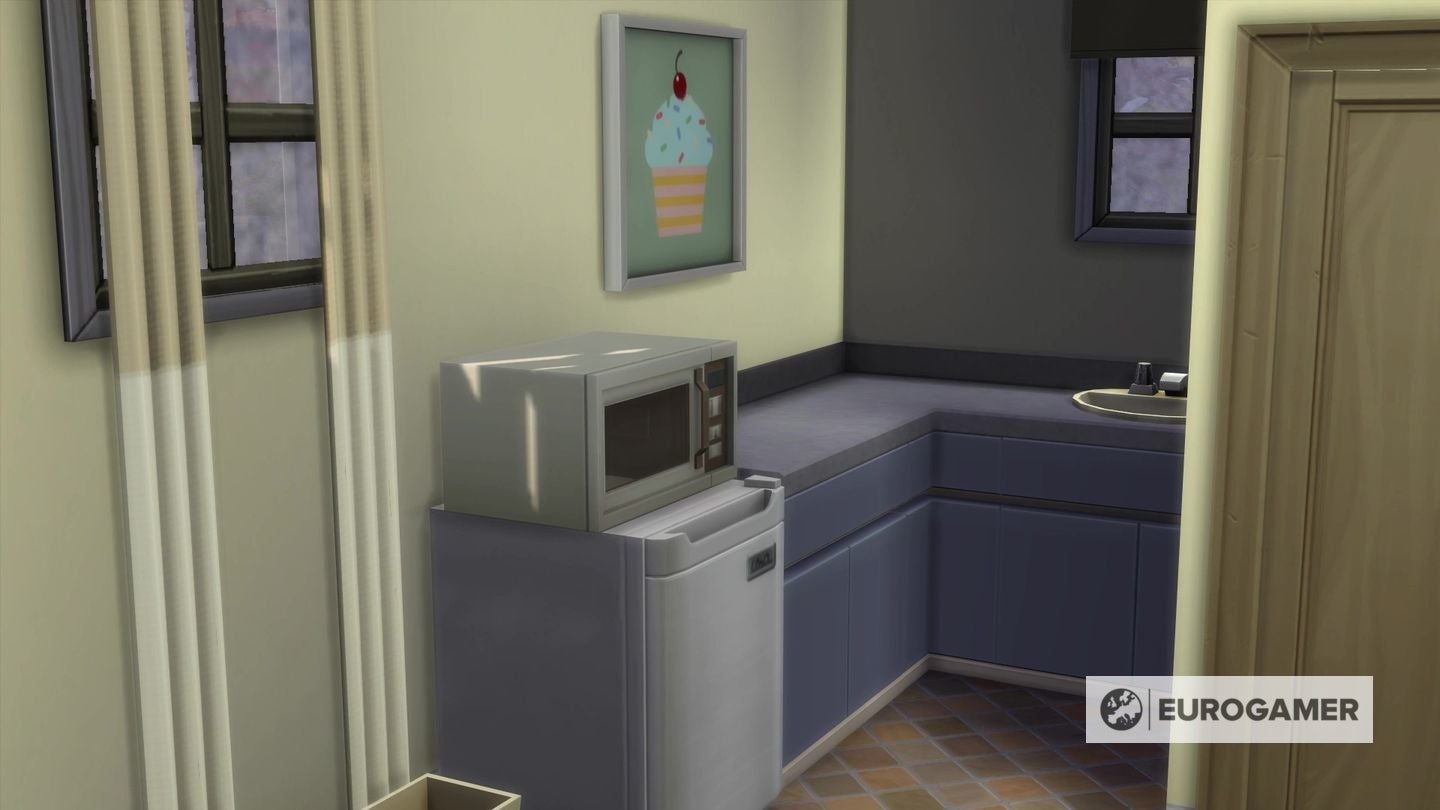
Mini Fridges: Half-height, fully functional fridges that allow for some objects to be placed on top of them. Particularly useful for making space for small kitchen appliances, such as microwaves or coffee makers; but can also be used for small decorative and lighting objects. InvisiShower: A free-standing shower not tied to a cubicle or bathtub. Like most other separate shower units, it still takes up a single floor tile; however, it requires less free space around it, as it won’t hinder access to objects on adjacent tiles when not in use. Handy for turning small water closets into wetrooms (and it comes with a built-in drain that will magically prevent unsightly puddling).
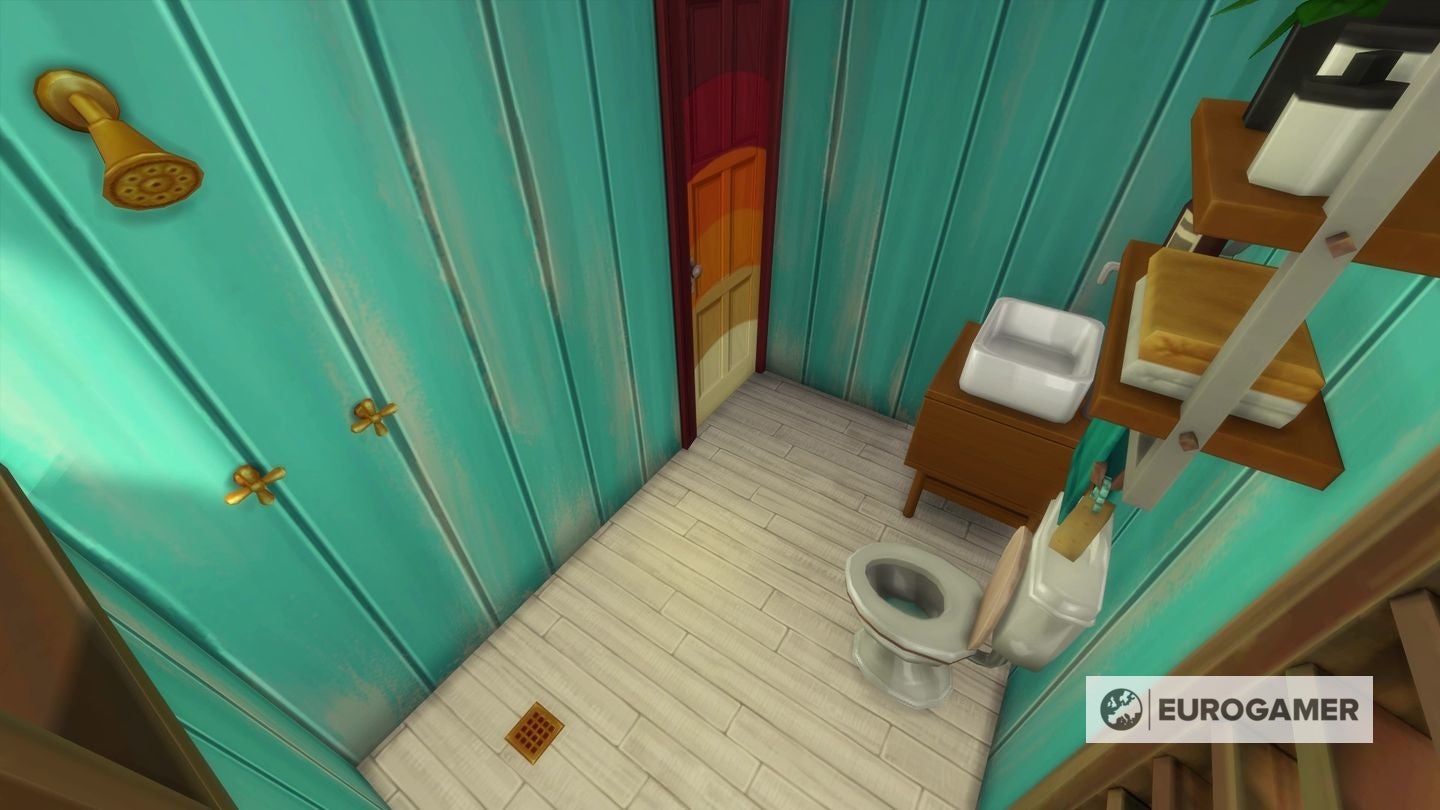
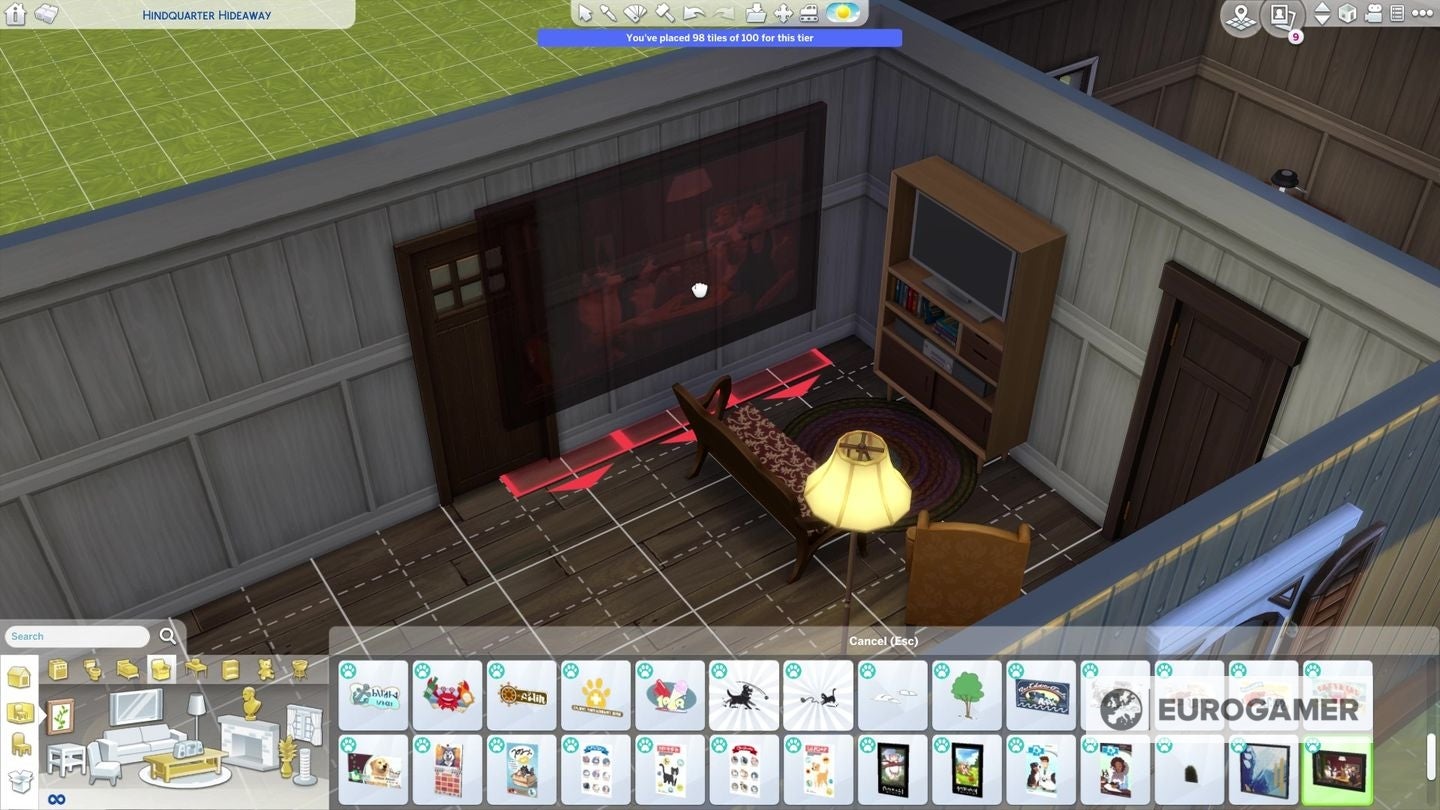
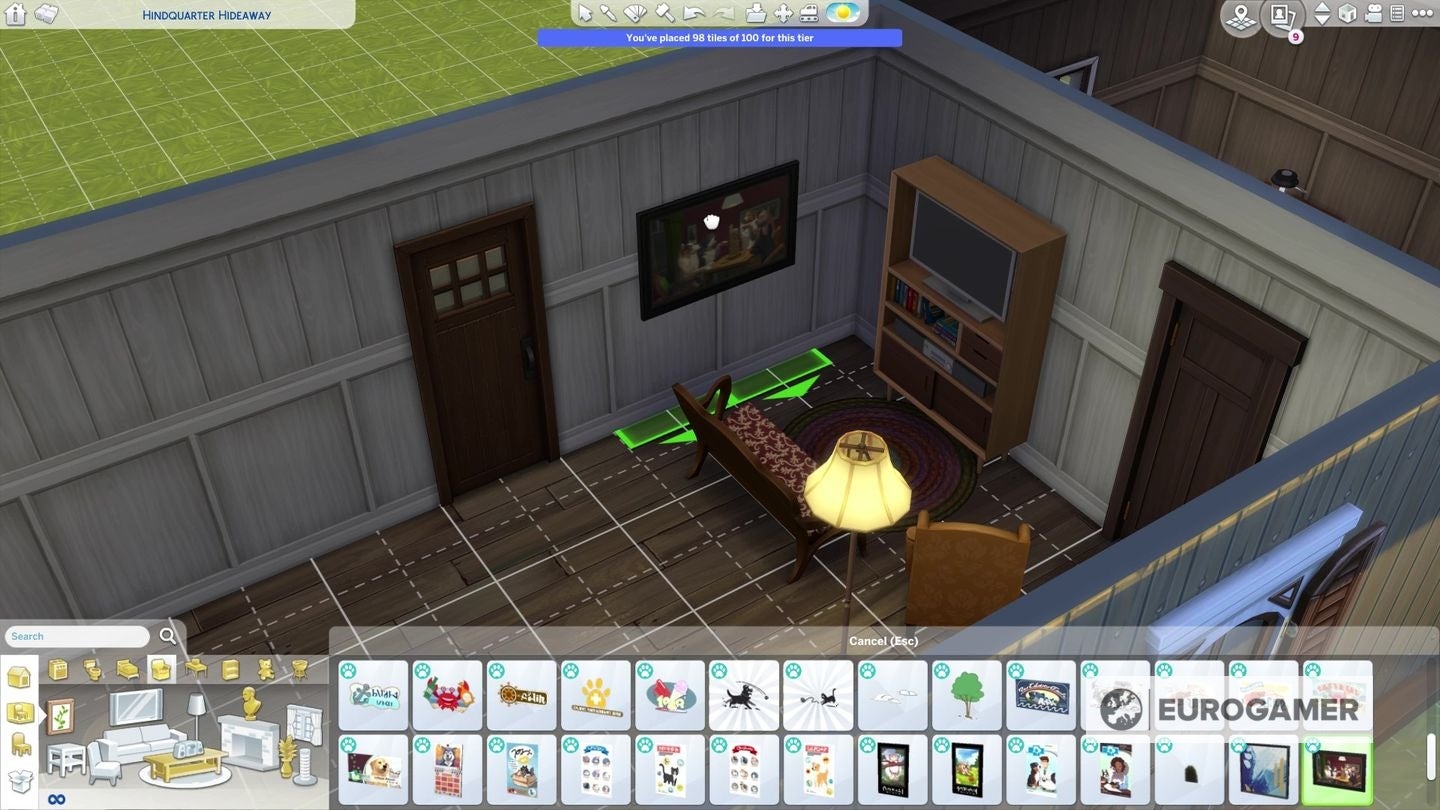
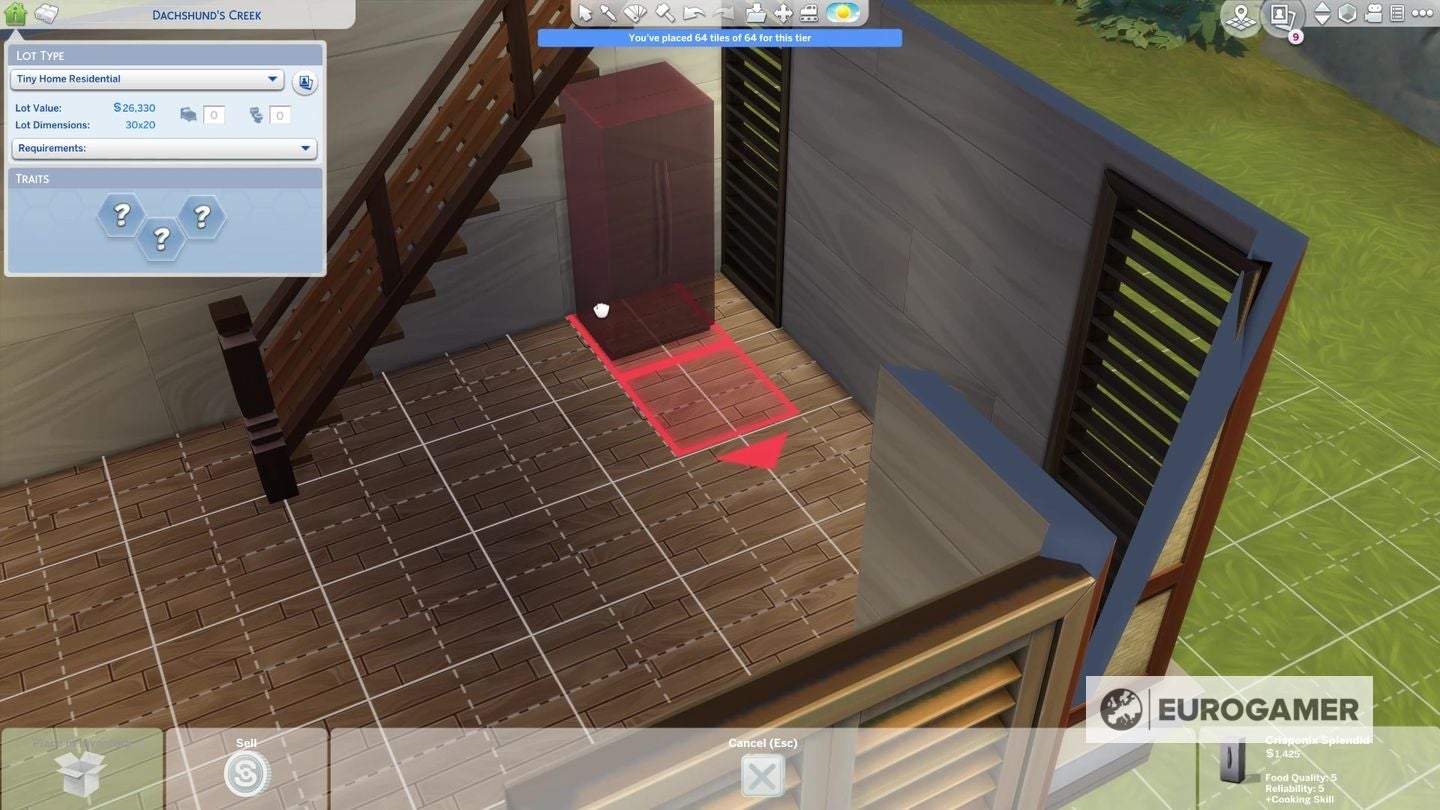
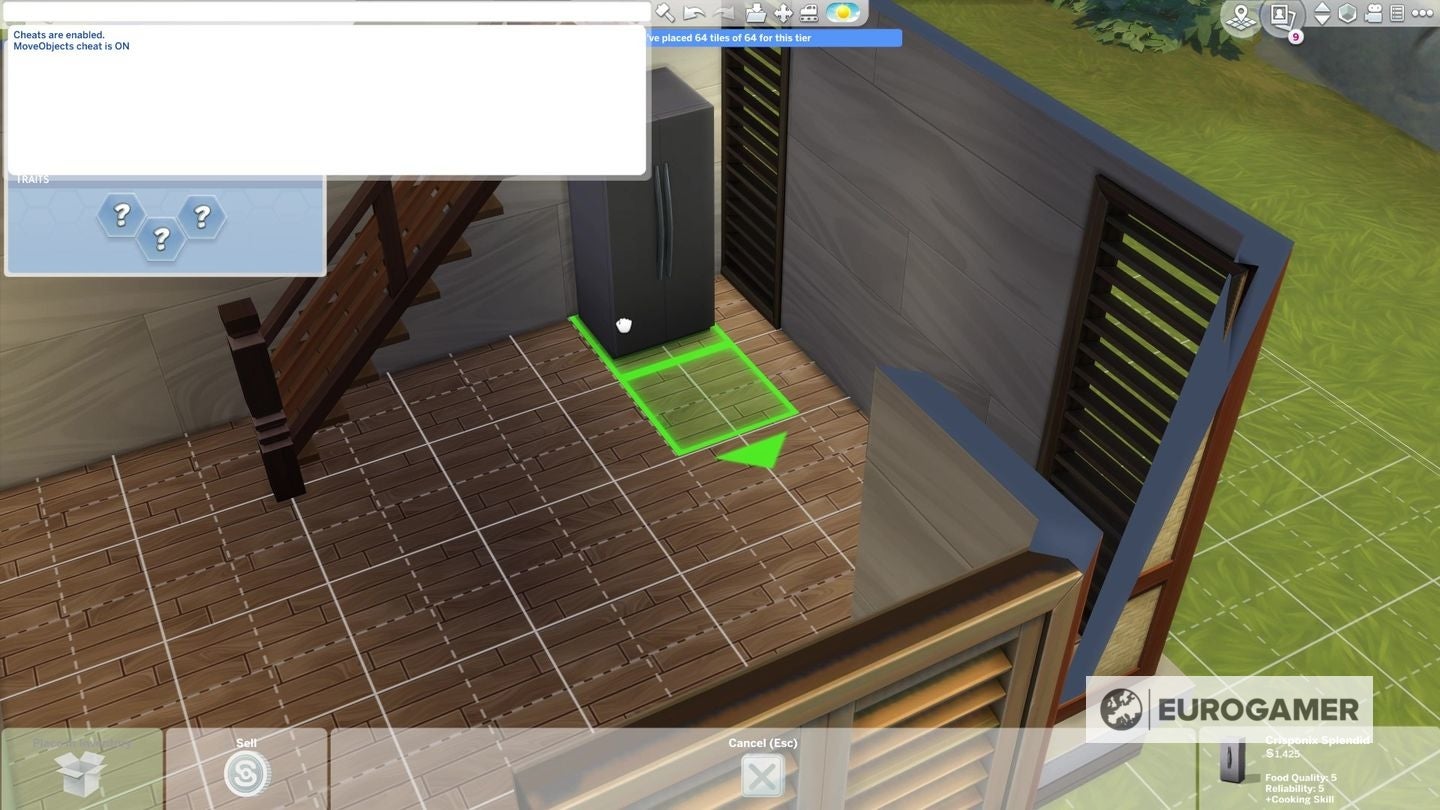
Space-saving hotkey commands and building cheats Finally, there are a couple of quick commands and cheats you can use in Build Mode to sidestep a few of the game’s restrictions on object placement. These come in particularly handy when you need your furniture to be placed quite cozily. Resizing hotkeys After picking up an object using the hand tool in Build Mode, you can scale its size up or down by pressing the square bracket keys. Left Square Bracket ([) will shrink the object, while Right Square Bracket (]) will cause its size to increase. Repeatedly pressing Left Square Bracket will eventually reduce the amount of floor space the object takes up. Most objects will remain fully functional after this treatment and there is no known risk of corruption or serious glitches; however, some animations may end up looking a bit weird, as Sims might continue to interact with the objects as though they retained their original size. Consider the bb.moveobjects cheat Sometimes, the game will refuse to let you place an object, usually because it considers another object to be in the way. You might well disagree, believing your choice of layout to be completely reasonable. If that’s the case, then you can open up the cheat console, turn testingcheats on, and enter bb.moveobjects. Entering the cheat code multiple times will toggle the MoveObjects cheat on and off. This won’t give you complete freedom to place objects wherever you want (it won’t help you to place a large object on a small shelf space, for example), but it does remove the vast majority of restrictions. In most cases, if you thought the placement looked OK, it probably will be in practice: for example, a refrigerator nestled under the stairs or a litter tray tucked discreetly beneath a countertop will probably end up completely useable. If the placement doesn’t work, your Sims will simply shake their heads when directed to interact with the object and drop it from their action queue, at which point it’s time to move it to somewhere more accessible. Sometimes the placement of certain objects just don’t fit right with your vision, and that’s only heightened when you’re trying to create in a Tiny Space! But that’s where the alt button comes in. All you need to do is press it while moving things around and you can insert your objects anywhere you want without it snapping to the grid. That’s all you need to know to make your Tiny Living Space in The Sims 4 feel fulfilling and fun!
